Window planning
Chicken coop windows: ventilation, stays, and automatic openers
The best window closer is the one that fits the window and leaves the coop with a workable ventilation plan. Closing every opening on a cold night can trap moisture. Start with airflow and security, then choose the hardware that holds the window where you need it.
Quick answer
- A closing mechanism does not replace protected ventilation.
- Check the window's weight, hinges, travel, and wind exposure.
- Temperature-driven greenhouse openers do not measure coop humidity.
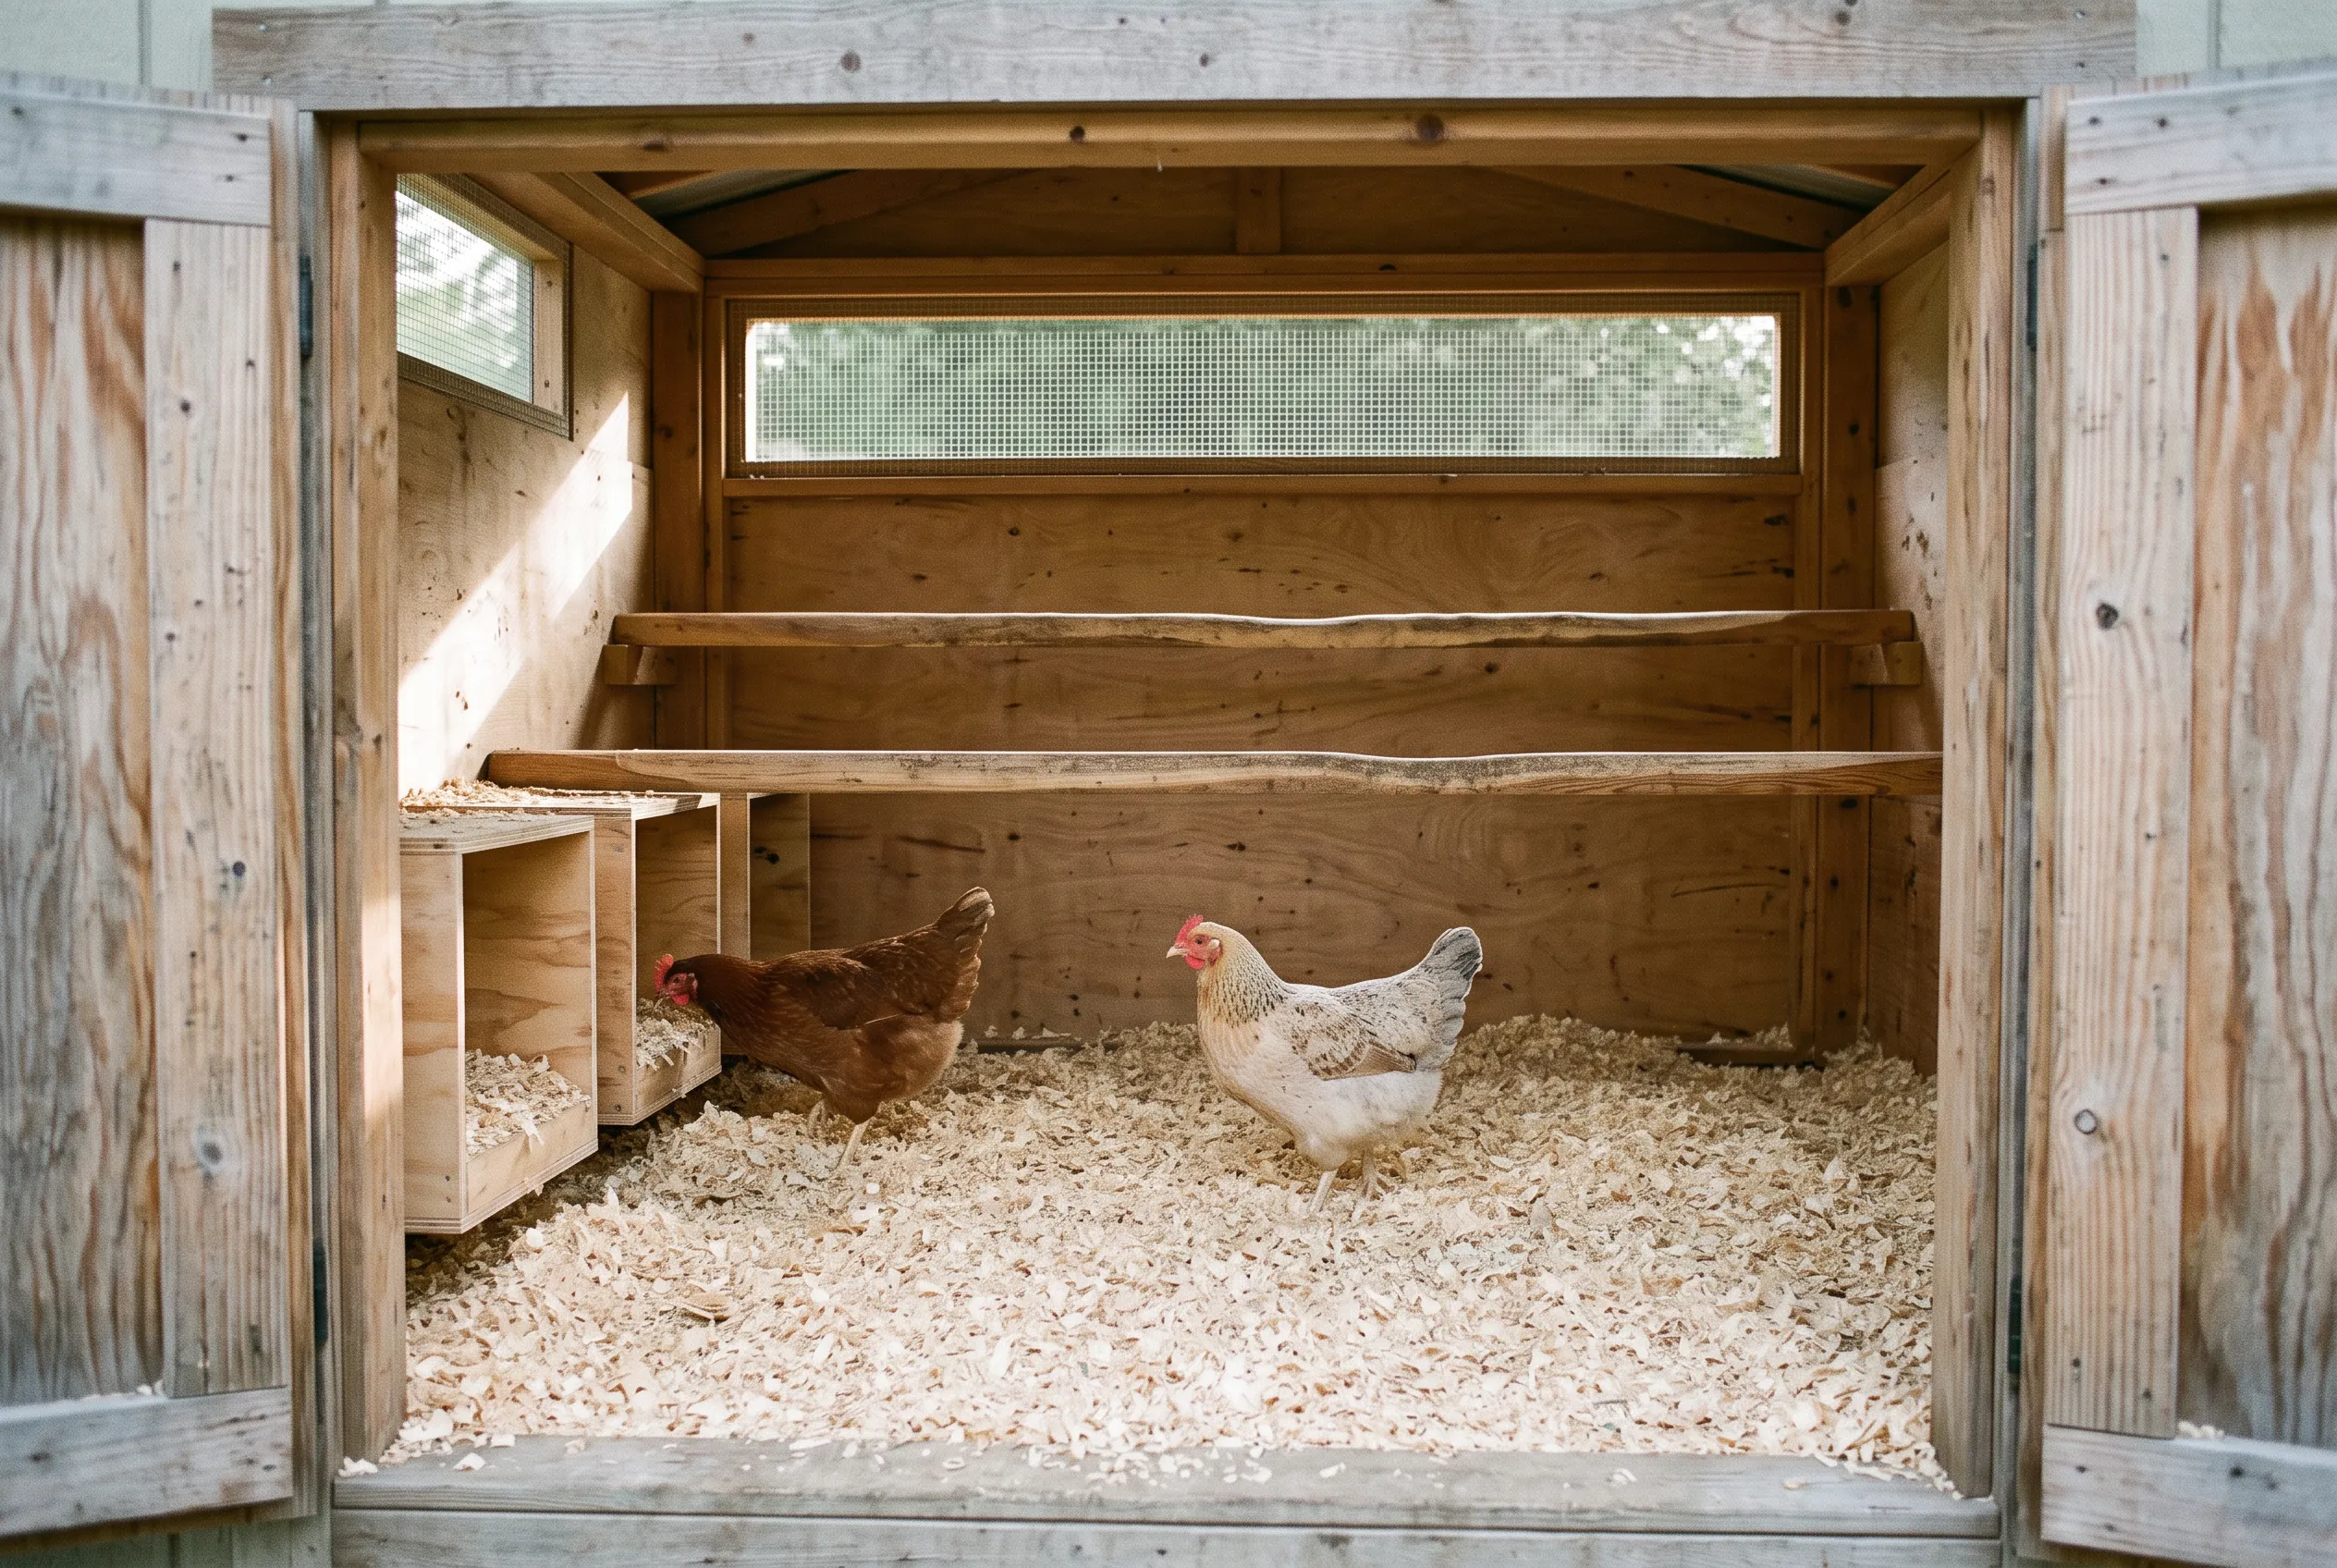
Leave room for air
Separate ventilation from a cold draft
Minnesota Extension recommends air exchange to remove moisture and ammonia. It also recommends addressing cold drafts and checking for condensation. Those goals belong together: make the coop dry and ventilated while avoiding unwanted exposure at the birds' resting area.
Before adding a closer, list the openings that remain available overnight. Include protected vents under the roof, windows, and any other designed air path. Then imagine the movable window fully closed. If your list is now empty, the closer would be controlling the coop's entire air supply.
Look at the coop in the morning as well as the afternoon. Note condensation, wet bedding, leaks, and where the roost sits relative to incoming air. Window hardware cannot compensate for a leaking roof or a waterer that repeatedly soaks the floor.
Compare three kinds of hardware
- Manual stay and latch
- A stay holds the window at an intended position; a latch secures it closed. This is a practical starting point when someone checks the coop daily. Match both pieces to the window material and exposure.
- Temperature-responsive vent opener
- A thermal mechanism moves a compatible vent as temperature changes. It may suit a carefully designed extra vent, subject to the maker's approval for the mounting and load.
- Powered actuator and controller
- A motorized system needs suitable travel limits, load capacity, environmental protection, controls, and manual recovery. Treat the complete system as the purchase, not just the actuator.
For most simple window projects, begin by pricing a suitable manual stay and secure latch. Move to automation when you can identify the specific condition it must respond to and how someone will check it when it fails. This is our planning recommendation, not a product performance ranking.
A greenhouse opener has a specific job
Bayliss describes a wax-based mechanism that responds to temperature. Its movement is therefore not a humidity reading or a dusk command. A cool but damp coop may still need ventilation even when a thermal opener is tending to close.
The manufacturer's FAQs discuss hinge geometry and clearance limitations. That matters on a home-built coop: a window that tilts, slides, or uses friction hinges may not match the vent for which an opener was designed. Ask about the exact window rather than assuming that anything described as automatic will fit.
Do not use a greenhouse vent opener as the automatic hen entrance. Vent temperature and flock movement are separate control problems. A protected ventilation opening should remain separate from the opening through which birds enter and leave.
Make a window specification
- Window width, height, weight, material, and hinge arrangement.
- The required opening distance and the space available for hardware.
- Wind and rain exposure, including where runoff goes.
- A protective barrier that remains effective with the sash open.
- Access for cleaning, adjustment, and manual operation.
- The ventilation available if this particular window closes completely.
Use photographs from inside and outside when asking a supplier about compatibility. Include a photo with the sash fully open. A close-up of the hinge and a side view often reveal fit problems that a front view hides.
Check the fixed protective mesh and its attachments separately from the movable window. A window opener is not itself a predator barrier. Avoid making an accessible vent easier to push open merely because it is now automated.
Observe the result through changing weather
After fitting hardware, watch a complete opening and closing cycle with birds kept clear. Confirm that the window cannot strike a perch, trap a cable, or hit another part of the coop. Follow the manufacturer's adjustment procedure and keep the manual nearby.
Recheck after wind, rain, and the first cold spell. Track the condition of the bedding and the birds along with the window position. If the coop stays damp, investigate moisture sources and the overall air path instead of turning one adjustment screw repeatedly. The summer heat guide covers the warmer-weather side of this plan.
Sources checked
Sources checked September 23, 2026. Product guidance is based on published documentation, with unresolved details identified in the text.